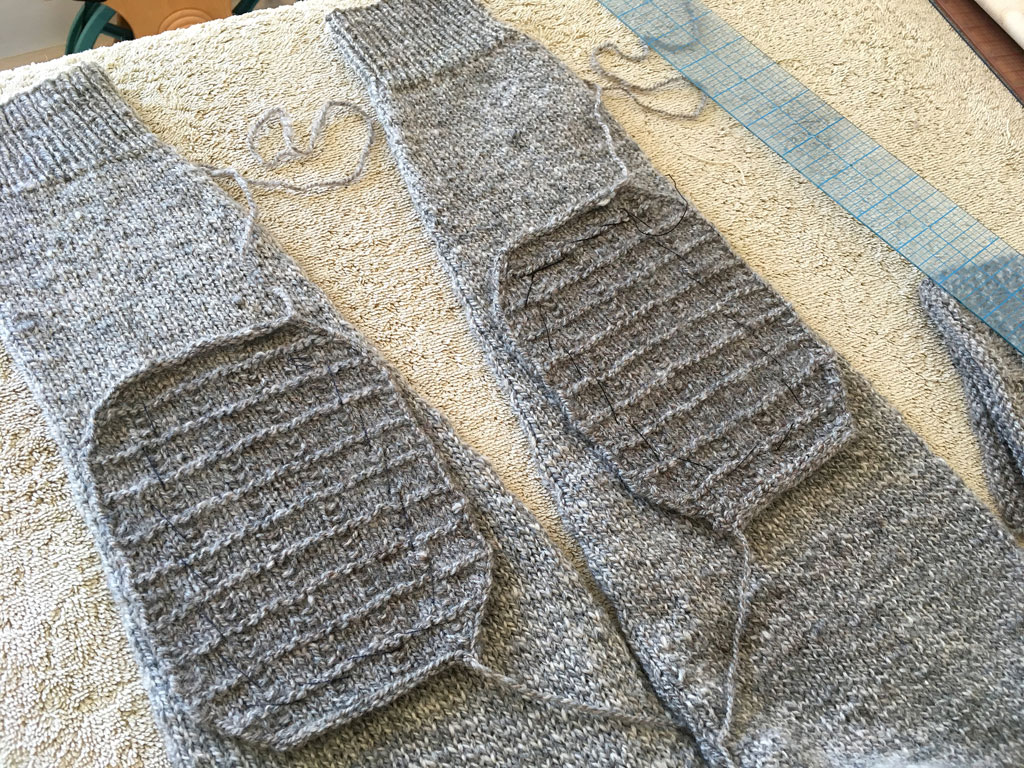
once i got home from dayton last week, i soaked my elbow patches in soapy water (my sea fret sweater had already been washed and blocked) before preparing to stitch them on. this is important so that they don’t change size and pucker after fixing them to the sleeves. i left long tails at both the beginning and end of my work for sewing; i wound these into butterflies befor soaking and blocking.
in the rinse stage, i fulled the fabric just a little to toughen it up, plunging the pieces alternately into icy cold water and then hot, repeating a few times and rubbing lightly. it wasn’t an all-out felting; that may have distorted the shape. just a bit of fulling to make the fabric dense and more resistant to wear. i then rolled them in a towel to remove excess moisture and laid them flat to dry, pinning them into a nice oval shape.
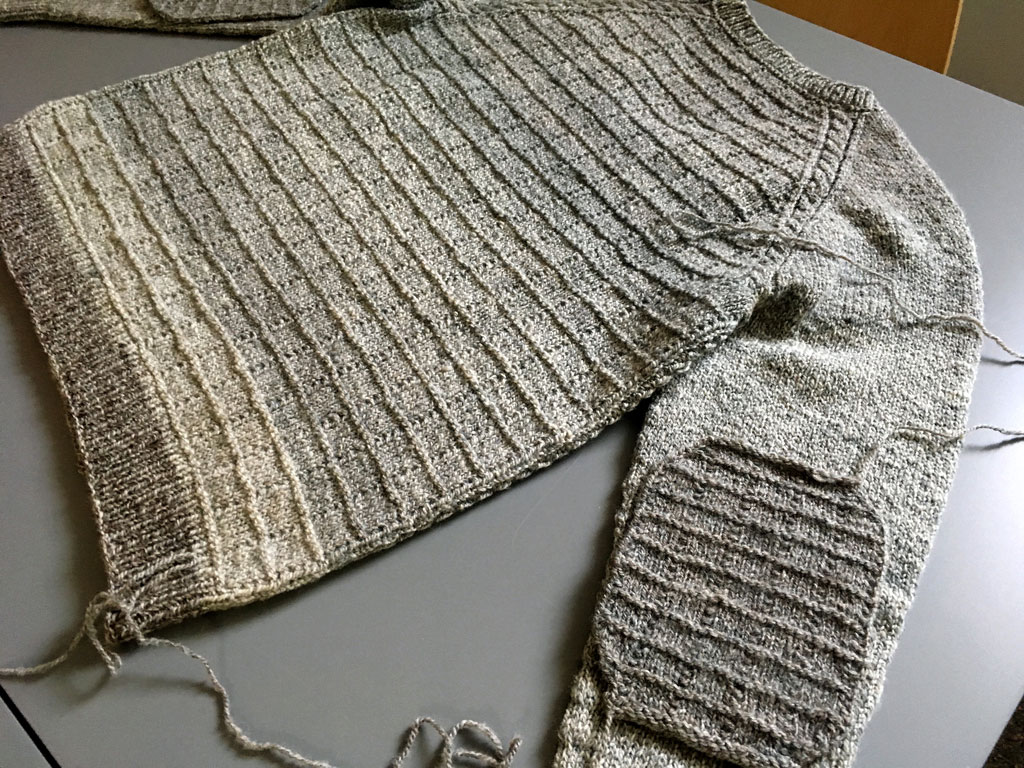
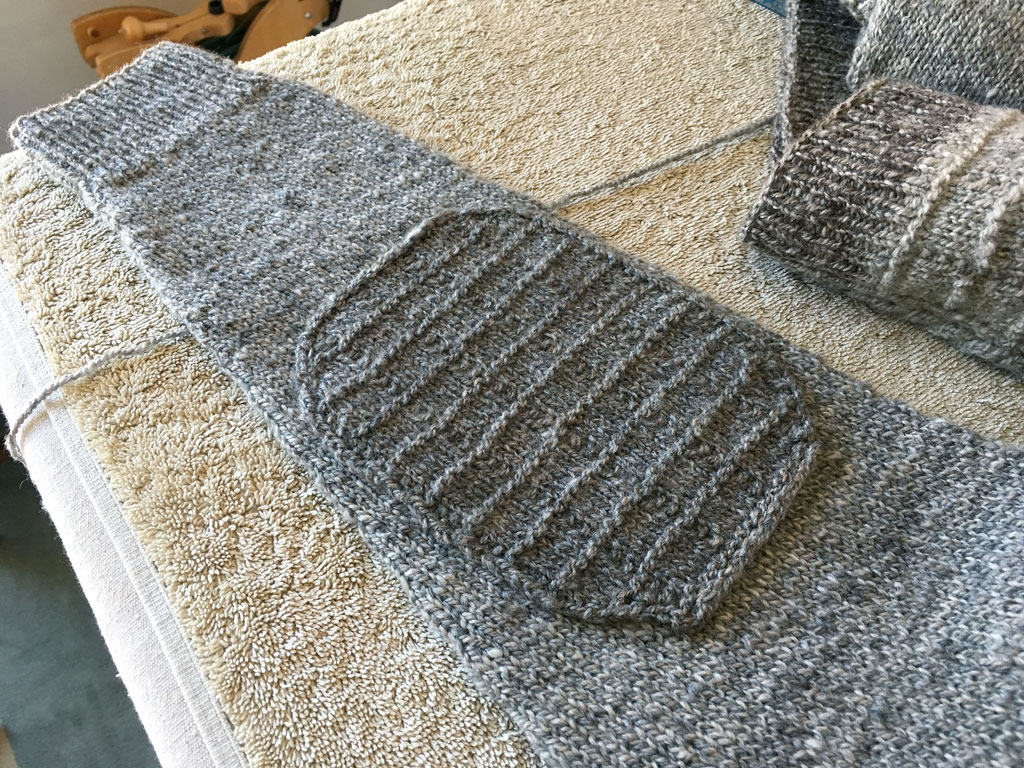
next i tried on the garment and placed the patches where i wanted them. in my case, this was about seven inches from the edge of the cuff. i wanted them to cover the elbow but also to extend down the lower arm enough to withstand the constant pressure on my forearm when i work at my desk. this is where i typically see some pilling in my sweaters. for some people this might be too low, so i will probably state a slightly higher placement in the actual pattern and schematic and suggest a custom placement.
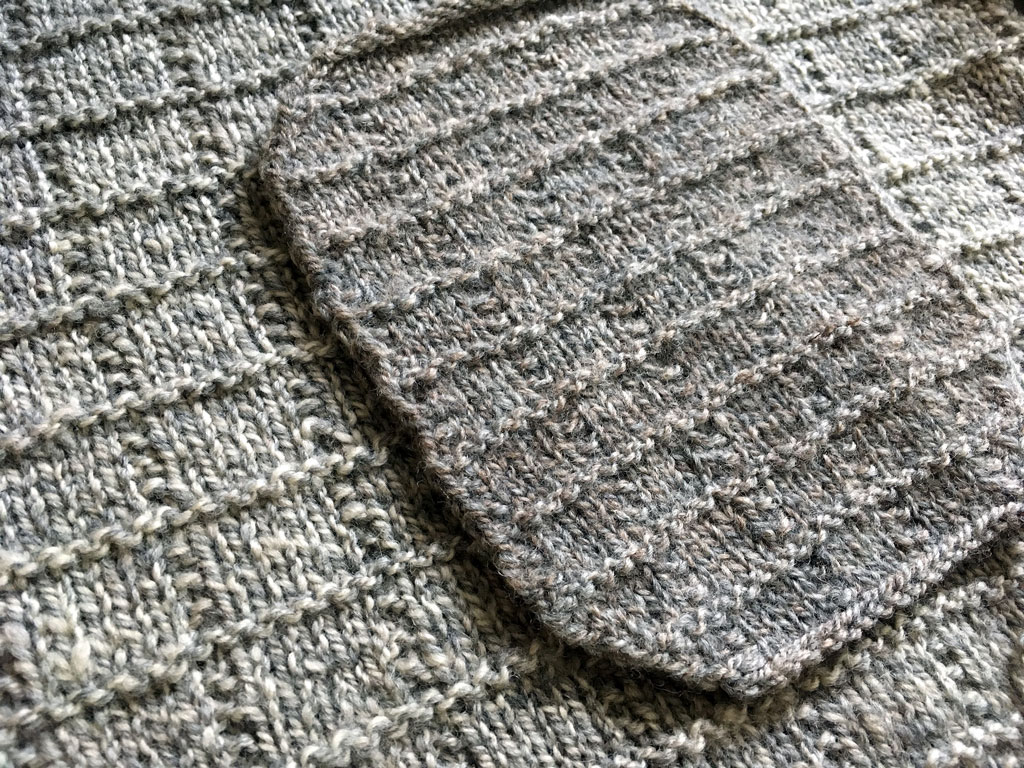
by the way, the elbow patches could be any shade that suits you or even another color entirely for a surprise pop of color, the way some designers are using bright pompoms on neutral hats. i chose a slightly darker shade than the color of my sleeves, with enough contrast to stand out a bit, but not too much. the patches are knit in a scaled-down version of the body pattern which provides textural contrast.
once i figure out the placement, i laid the sleeves flat and measured evenly from the cuff, then aligned the patches in the same direction the stitch columns were running on the sleeves. i’m not positive this is important, but my instinct tells me that if i tilted them on the fabric, the two layers would fight each other and eventually torque somehow. whether you place them a little closer to the underarm seam as i did, or cheat them a little more toward the center of the sleeve is completely between you and your elbows.

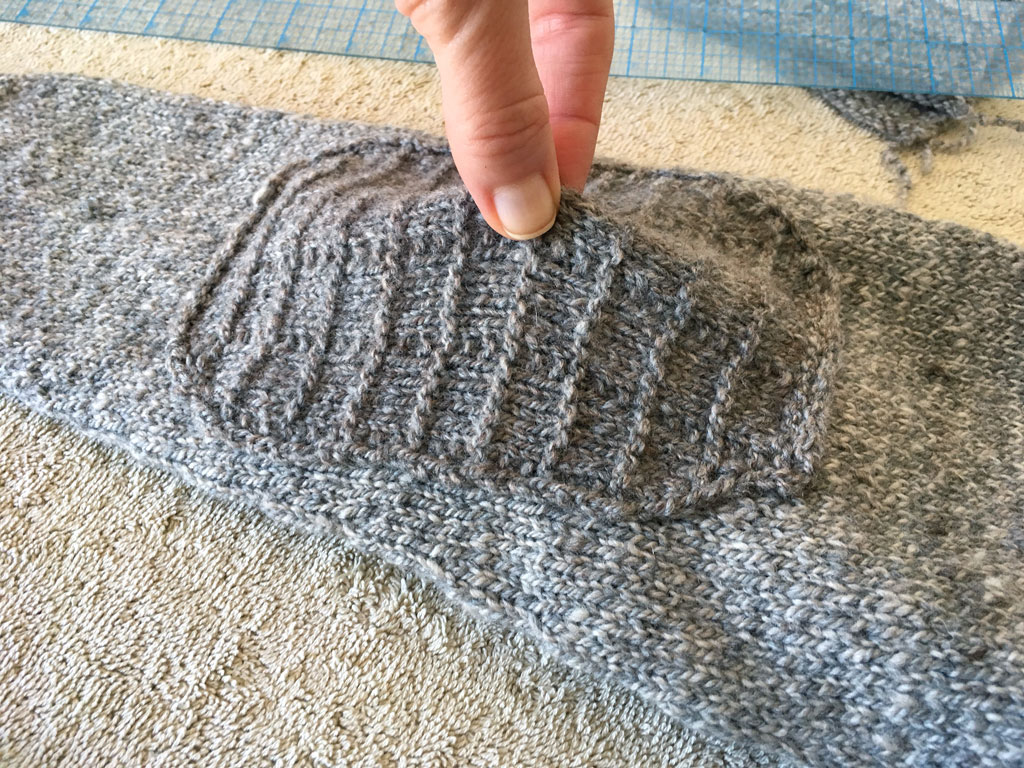
once they are placed, slide a piece of cardboard into the sleeve to isolate the top layer, then baste the patches down with large stitches, using sewing thread and a needle. basting is a great technique for securing things temporarily, especially when you’ll be manipulating or moving the fabric a lot. basting is MUCH better than pinning, which distorts the fabric and allows pieces to shift around quite a bit. it only takes a few minutes to do, but once completed, gives you lots more freedom to work; the basting stitches are easily removed later on.

next, i used a backstitch to sew all around the edges, just inside the stockinette edge stitch. to backstitch, take a tiny stitch to the right and slide the needle underneath the fabric to the left, overshooting your next stitch a little; repeat around. i used the column of garter stitch at the edge as a guide for each stitch and that worked a treat for making them equal in length.
i wanted a bit of rough edge to show all around, but you could also use a blanket stitch or whipstitch if you prefer the look of covered edges. either technique will result in an equally neat, secure attachment. once it was sewn all around, i wove in my ends on the wrong side and removed the basting stitches.
now, how to deal with all that unattached fabric in the center of the patch? while two layers of merino wool will almost certainly tack themselves to each other a bit when washed and worn, i definitely didn’t want to leave the result to chance—it would be just my luck that they would shift a bit and glue themselves together in some distorted way, never to be separated.
i thought about running a few lines of invisible stitching right next to the garter ridges and certainly, this would do the trick. but i wondered if it might be heavy or stiffen the fabric more than i wanted. then i had another thought . . .

maybe needle felting would be a good solution? believe it or not, i had never needle felted, haha, and i don’t own the tools, but i really wanted to try it here. over the years i have thought of many instances where this technique might be useful, but never bought the supplies to do it. and i still didn’t—instead i asked everyone i know if they have them, but no one did. finally, i thought of my friend paula and sure enough, she had what i needed. she brought them to our saturday class and on sunday, i gave it a try.
don’t you just love how i’m willing to experiment on a brand new, never been worn, took forty or so hours to knit garment?? yeah, that’s because i didn’t even think of it that way until just now. scary, huh? i guess i just figured it would work.
so basically, we are needle felting an appliqué here and the instructions that come with the kit are very clear about how to do it.
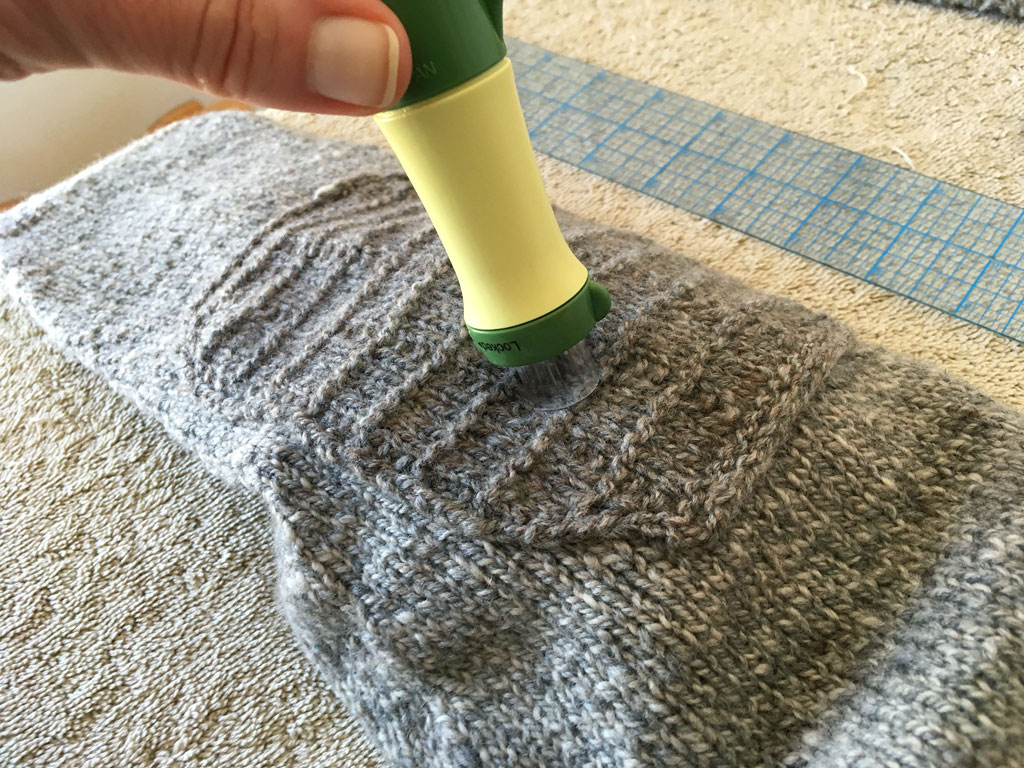
i didn’t realize until i read these instructions that you can do needle felting without water! here i had envisioned making something of a mess and working with wet fabric, when actually, the whole process was quick and neat. i just stuck the felting pad—which is actually a big square brush—into my sleeve face up, underneath the patch. it then occurred to me that it might have been good idea to leave the basting in until after the felting was done, but i needed that shot for the blog so i didn’t think of it. you, however, could take advantage of my hindsight.
i had to work in sections because my patch was bigger than the felting pad, so i just moved it around to do one quarter of the patch at a time. all i had to do was punch lightly with the felting tool through both fabric layers for a minute or two and wa-LAH!—it was attached. then i did a final section at the center.
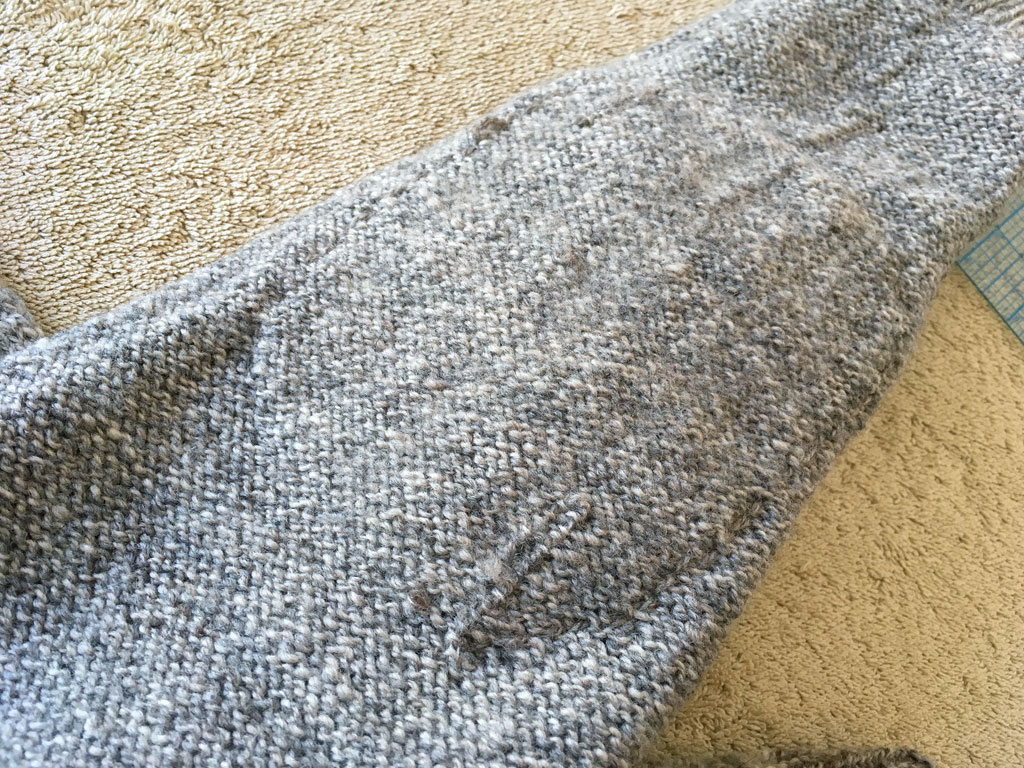
you know you’ve done it correctly when you turn the sleeve inside out and you see a haze of fiber on the reverse in the shape of your patch. since the patch is also sewn down, there’s no need to go crazy and make it stick too firmly—a light touch is fine and will likely be reinforced by future washing. you don’t want a stiff fabric or one that will felt into cardboard if you cough on it.
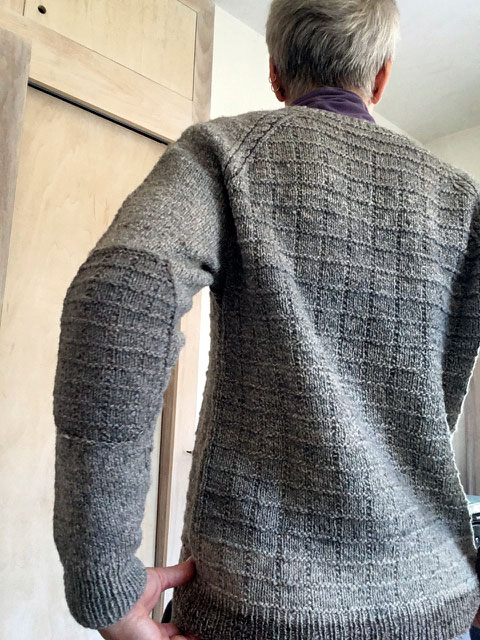
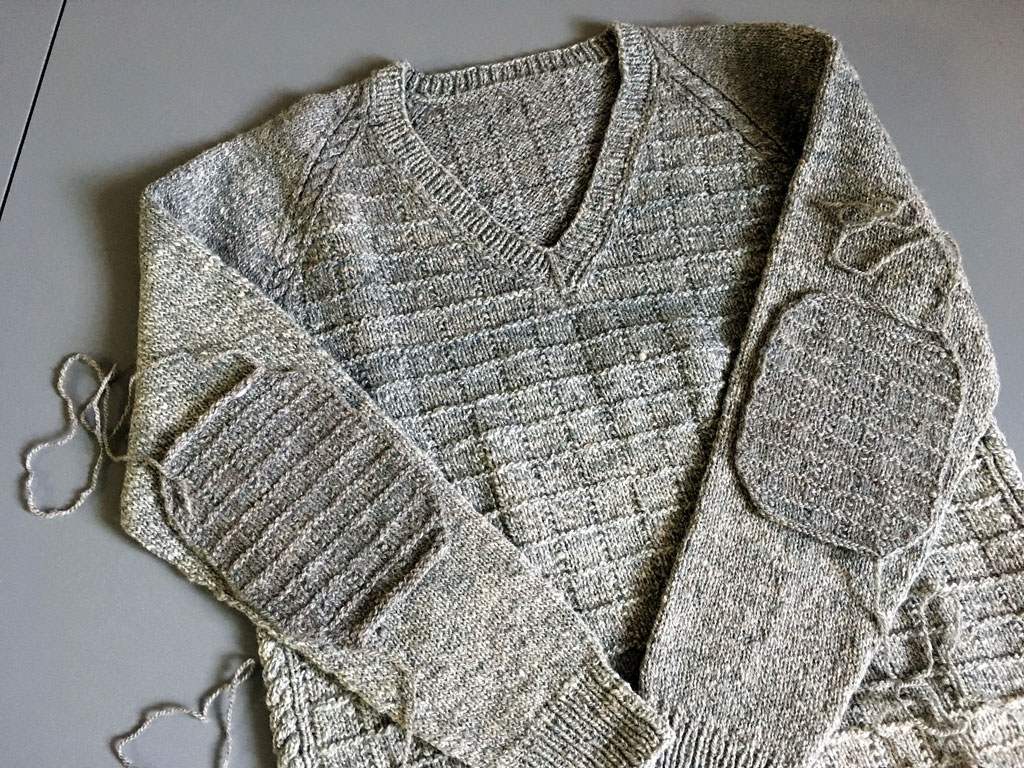
like i said in my earlier post, we’re going to take lots of lovely photos with real models some day soon, but for now, here’s a sneak peek. now i have one more to go and this garment will be complete; time to get my pattern writing sweatshirt on.
9 thoughts on “elbows swinging”
Oh Cool! Especially the needle felting part.
Simply beautiful work. I learn so much from you. Thanks.
The needle felting is brilliant…suddenly I’m getting a much warmer feeling about the sleeve patches.
Wow! If you can’t do this,properly, you might look into some,reading instruction lol. Thanks for the comprehensive tutorial.
Very cool. Neat about the needle felting.
Needle felting elbow patches! what a fantastic idea! I look forward to the publication of this pattern — I love the texture and the tailoring of this sweater.
I love this sweater. The cable details make it really special. Next time I get to make something for me I think this will be it. Not that there aren’t a dozen Knitspot sweaters already calling me….
This sweater has a nice balance of plain and pattern, especially with the elbow patches. Looking forward to the pattern. Great timing, too: the elbows blew out of my husband’s sweater and I’d like to reinforce the darning. Thanks!
Cannot wait for this pattern!
Comments are closed.